Pencil Case
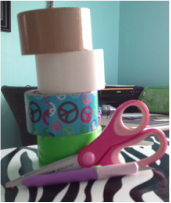
Summer is ending and school is coming up! I wanted a new and cute way to hold all my pencils, pens, and erasers! A symbol I think is way cute is a cupcake so I decided to use my duct tape purse making skills to create a duct tape cupcake pencil holder! First the supplies you will be needing is whatever colors of duct tape you choose (I chose brown for the case green for the bottom of the cupcake and white and peace sign duct tape for the frosting). A pretty sharp exacto knife, some scissors, and a cutting mat.
Step 1
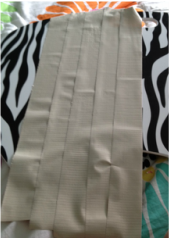
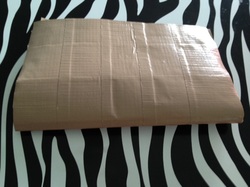
The first step in making the pencil case is creating duct tape fabric. It's pretty easy all you need to do is cut a piece of duct tape (you want to cut a piece as long as you want your case to be tall a good way to check is rip the piece and fold it in half that's how big it will be). Then stick the pieces together and however many you put is how wide your case will be.
Step 3
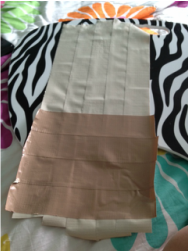
Next you need to completely cover the sticky part in more duct tape. So when you're finished you will have one whole sheet of non sticky duct tape. Then just go along the edges and cut off any left over sticky.
Step 4
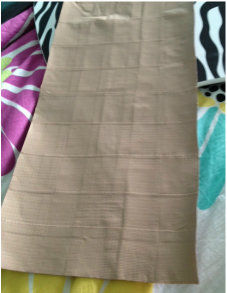
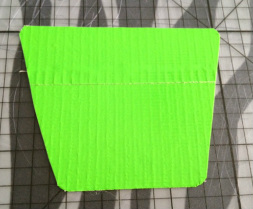
Next fold your sheet in half and cut any pieces that are hanging off off. Then take two pieces of duct tape and close off the two sides.

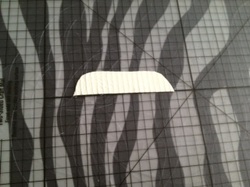
Step 5
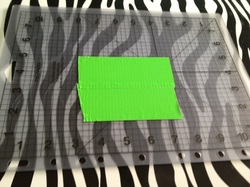
Next Im going to begin working on the cupcake I started with the bottom or cup of the cupcake. I can usually just eye how it's supposed to look. However, if you are kinda nervous you could always trace it first. Then I removed the excess duct tape so the only thing left was the cupcake bottom. Then lastly I added it onto the case.

Step 6
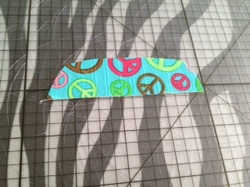
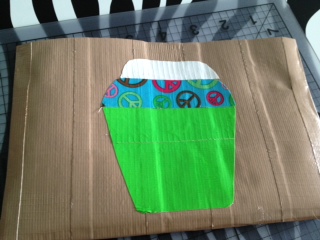
Next I started on the frosting the kind of frosting im making is in three parts so I started with part one the peace sign duct tape. Once again I just eyed it or you could trace it. Then I added it onto the case above the cup.

Step 7
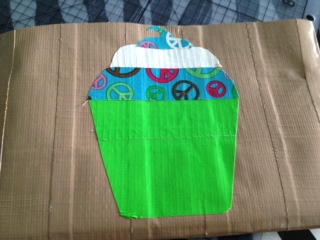
Next I did the middle frosting same as the bottom frosting except just a little bit smaller. Then I added it to the case. Then I finished the frosting with a really small frosting swoop.
Step 8
I cut two pieces of duct tape and then I used the exacto knife to cut really thin strips for the cupcake bottom.
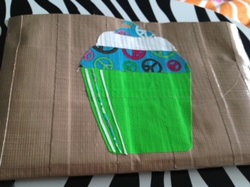
Completion
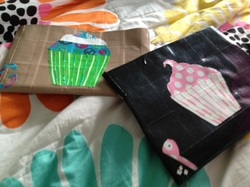
And wala you have a way cute and unique pencil holder! If you want it to stay shut you can use different techniques! If you're a sewer you could sew a zipper, or you could attach a ziploc zipper onto it, or glue some magnets!
